Professional Product Photography Tutorial: DIY at Home
Ansel Adams said, "You don't take a photograph; you make it." This means you have the power to build a visual your target audience likes and change their viewpoint about the product. And guess what? You can capture stunning product photos easily with the perfect setup and a well-planned strategy.
In this article, I will tell you how to take product photos with the easiest 9-step product photography tutorial and shine your business in the online market. Without further ado, let's start!
Why Professional Product Photography is a Game Changer for Online Businesses
Shopify stated that 75% of online shoppers say product photos are very influential when making a purchase, which alone proves you need to invest in creative ecommerce product photography services to stand out from the competition and dominate the online market.
Product photos are the silent sales generators for your online store. While SEO-friendly product descriptions and alt-texts help you get found by your target audience, product image visuals make them stay. Customers first scan the product photo - its visual and realistic details, and decide whether they want to purchase it or not.
Your product images must be captivating with visual details, ensuring they build trust with the target customers and encourage them to convert, purchase, and return as regular customers.
Creative Product Photography Tutorial - 9 Steps to Turn Your Imagination into Visual
Follow these DIY product photography tips to capture eye-catching images your consumers love and engage with.
Strategize Your Product Photography
Plan your product photography session beforehand to ensure a 100% success rate for your project campaign.
- Generate Idea. To get creative product photography ideas for the photo session, search on Pinterest, Google, and competitors' sites. For example, how to take water bottle pictures, the search results will give you many ideas for capturing stunning product images.
- Google Doc. Add all necessary information in a Google doc and alongside the image to remember the product photography ideas and what you need to capture stunning photos. It will help you get all the information in one place and turn your inspiration into a captivating product image.
- Budgeting the Photoshoot. Create a budget for the photography session to measure the profit over the cost.
Understand Customer Perspective
Before getting into DIY product photography, you need to understand your target users' psychology, such as what grabs their attention and makes them convert. Let's see how your target consumers perceive product images.
- Realistic visual. Online consumers look for realistic features to ensure they get the product they saw in the picture.
- Contextual Connection. Contextual product imagery conveys the subject usage and how it aligns with users' lives, building an emotional connection.
- Image Consistency. Providing consistent product images allows consumers to scan the product images quickly and effectively, helping them to make a choice.
Thus, when planning your ecommerce product photography, ensure your product images are visually appealing, contextual, and consistent. It will help you grab the audience's attention and achieve your goal.
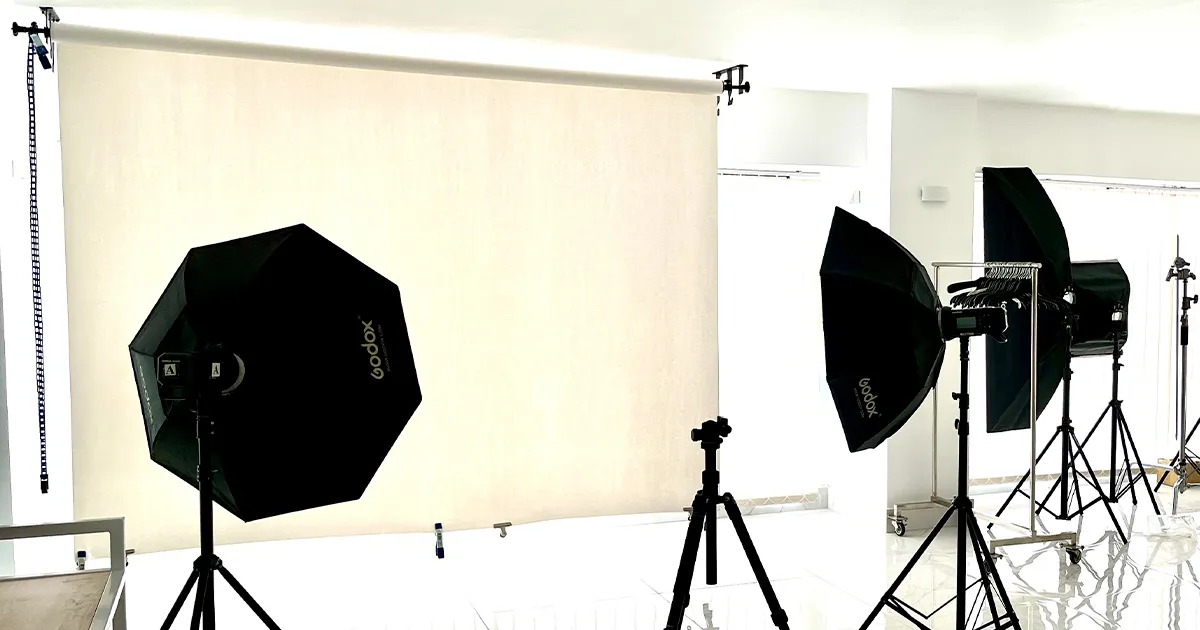
Professional Photography Equipment You Need
7 must-have elements you need for every type of ecommerce product photography.
Lighting Gear: Use high-quality LED lights with soft boxes to capture the well-lit soft images. Keep reflectors, foam boards, or bounce cards to minimize the shadows and maximize the lighting effects.
Small Lighting Tents: If attainable, keep small lighting tents for photographing small objects like jewelry and other products.
Backdrops: Use fun backdrops according to your need, such as white or colorful backgrounds, vinyl sheets, acrylic plates, wooden boards, and more.
Camera: DSLR/mirrorless camera is one of the must-have elements for the best product photography composition and for taking the best professional-looking images.
Macro Lenses: Whether a macro shot or a wide-angle shot, 50mm macro lenses are ideal for capturing high-quality, sharp product images.
Tripod: Use a tripod to adjust the camera to your desired height and capture stable and crisp product images.
Photo Retouching Tools: Edit all your product images in Adobe Photoshop or Lightroom to enhance the image quality, ensuring elegance and originality.
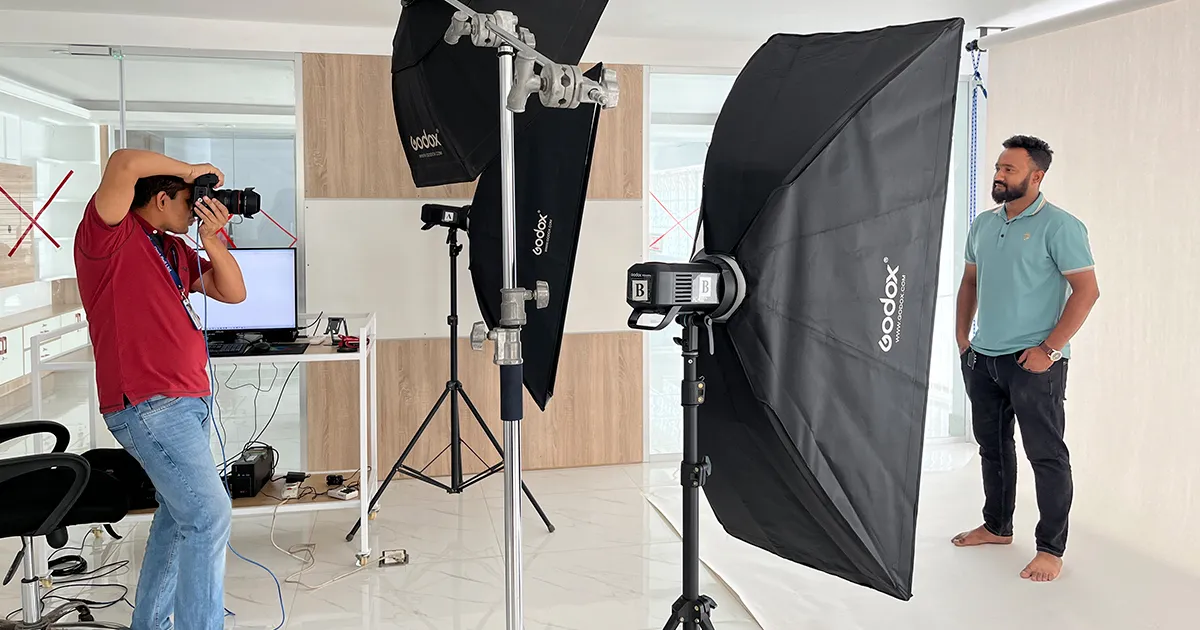
Professional Product Photography Setup Idea
Step-by-step product photography setup guide.
- Choose an empty room or a corner with proper natural lighting to create a photography studio.
- Place the background to set the product. If your background is unstable or paper, use clamps or tape to keep it in place.
- Put the product on a clean, flat surface, ensuring it is seamlessly placed on the setting.
- Put the camera and tripod in the setting. Adjust it according to the product height.
- Set the reflector or foam board opposite the camera so that lighting reflects on it, creating a soft shadow and proper lighting.
Ideal Time for Product Photography
The reason I told you to set up your photography equipment in a well-lit room is that you can do creative ecommerce product photography in both natural and artificial lighting.
If you want to use natural lighting for product photography, take images in the morning or golden hour. On the other hand, if you want to capture product photos in the studio lighting, any time is a good time. However, do not mingle natural and artificial lighting as it may affect the overall lighting of the product and increase your workload in the product post-production photography.
Style Your Products
Top-notch professional product photos have to be simple yet elegant and storytelling. Thus, while styling your products, keep these 4 things in mind.
- Relevant and minimal props. Many studio-quality images do not use props to keep consumers focused on the product. However, if using product photography props makes your product images more contextual, you can apply them. Just ensure props are relevant and necessary.
- Brand color. Product images are created with a purpose- to promote your brand online and enhance engagement, conversion, and sales. Thus, use your brand colors in the background or as a prop to create a unique photo that belongs to your brand and works as a promotion.
- Symmetry, leading lines, or rule of the third. Place your product following these three techniques to keep customers focused on the subject and make it the hero of the image.
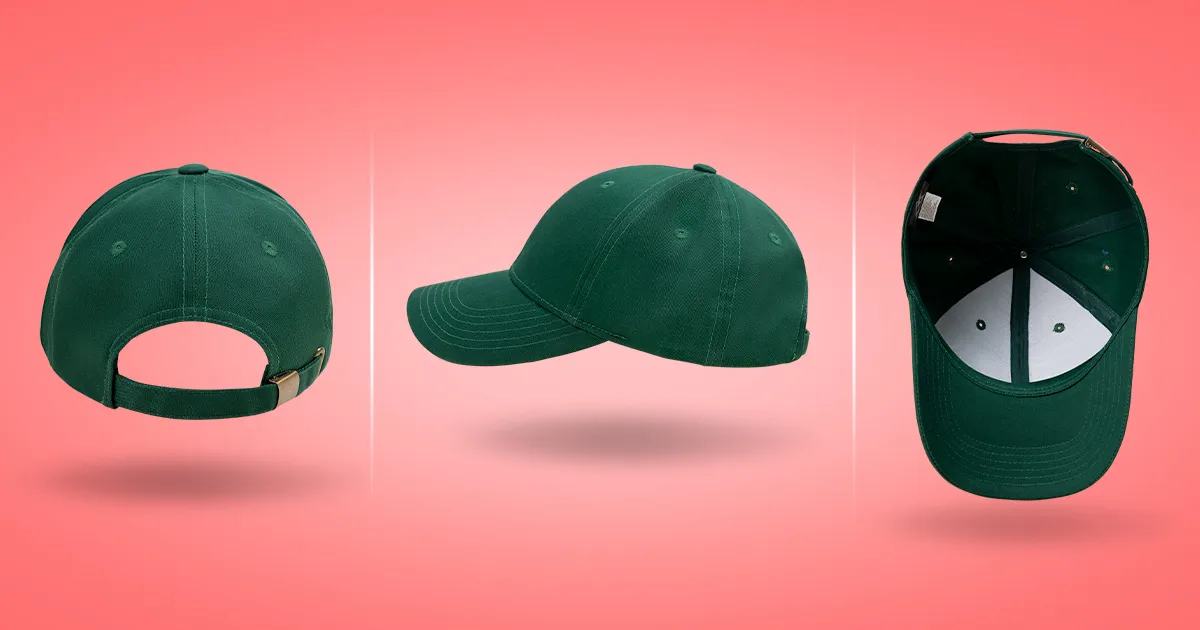
- Multiple angle images. Take product photos from the front, back, two sides, macro shots, and wide angles to show all sides to the customers and impress them.
Here is the final image after styling the product:
7 Creative Product Photography Ideas
Check out these trendy product photography ideas and utilize the ones that align with your brand image. However, any idea you use, ensure consistency.
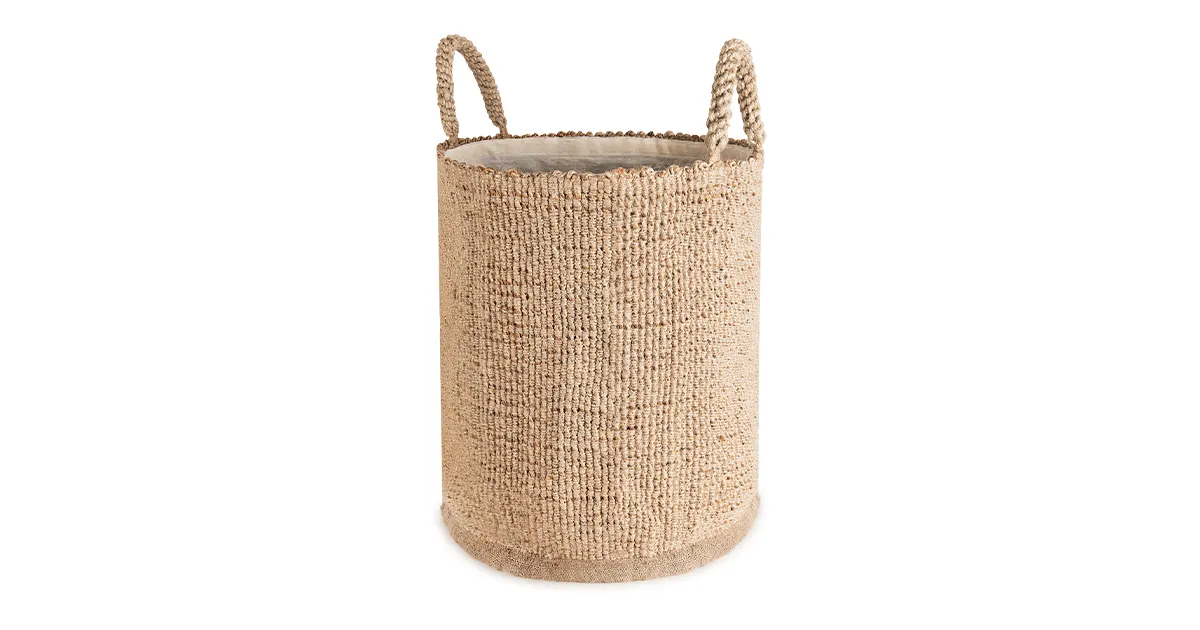
White Background
It is a classic product photography idea that never gets old. Any product you place on a white background looks stunning and eye-catching. Also, a white background for product photography is the best choice if you want consistency.
The DIY product photography with a white background is simple. Place your product on the white background following symmetry, the rule of thirds, or the leading lines rule. Use props, if necessary. Ensure the product looks the way you want and captures the image.
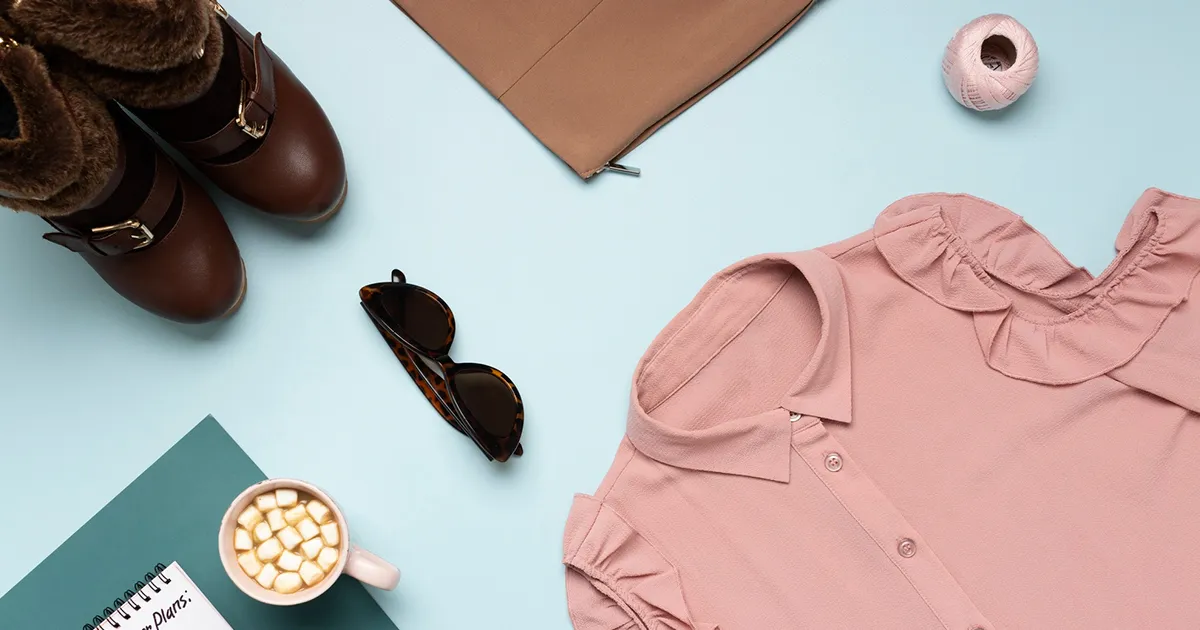
Flat-lay
One of the easiest DIY product photography ideas is- Flat lay. Place your product on a flat surface like a table, floor, or other place. Put the lighting over the product and place a reflector according to the lighting position. Use relevant props to decorate the product.
Once you are happy with the product styling, capture the image. Flat-lay product images may turn simple but super elegant. If you are a beginner, I recommend using a flat-lay product photography idea as it is cost-effective and result-driven.
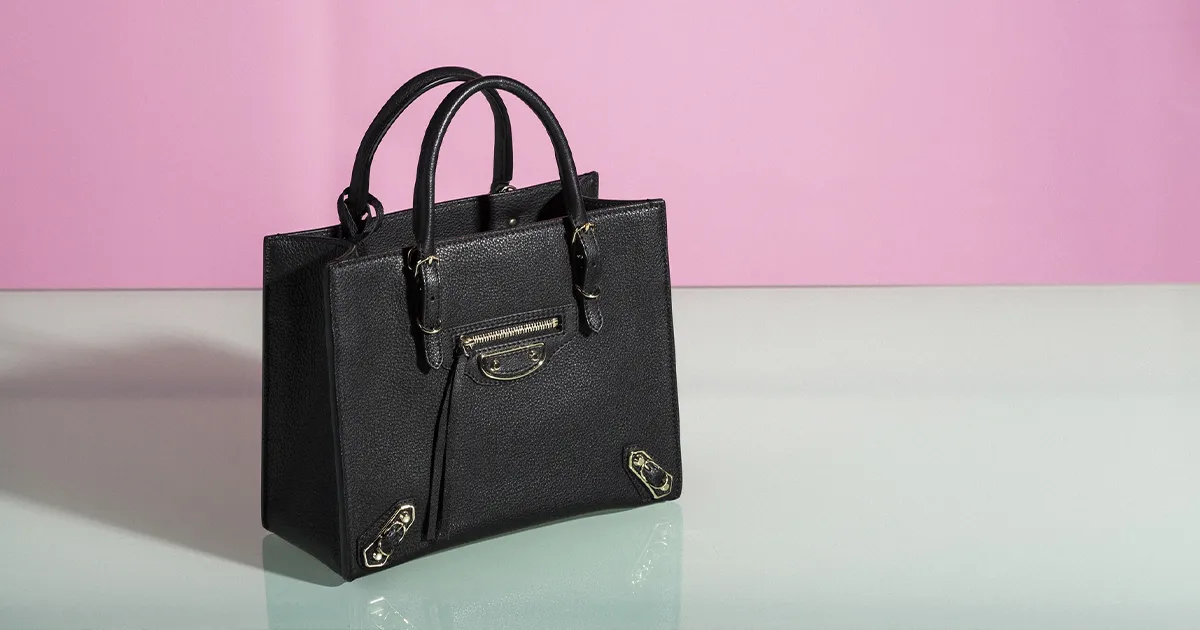
Negative Space
Keep your product the center of attention with negative space product photography ideas. Negative space has 2 elements- the frame and the subject. Use a simple background that complements the product and place the product in your desired position. Ensure the focus stays on the product. This photograph is simple but super elegant.
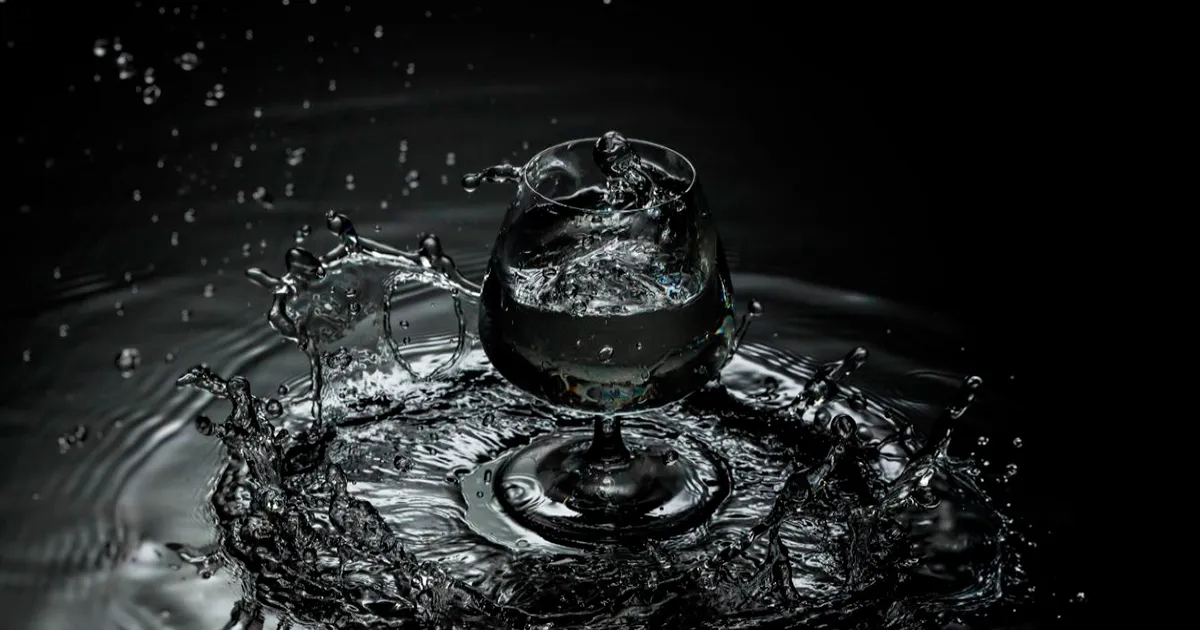
Stop The Moment
Another trendy product photography idea is to freeze the moment. This photography technique brings the products to life and makes the consumers feel they are living the moment. Achieve this photography technique with assistance. For example, someone scoops the ice cream when you capture the moment.
Lifestyle
Lifestyle product photography aims to make the customers resonate with the product. You can take lifestyle images indoors and outdoors. Use relevant props to bring out the best in the products and build an emotional connection. For example, if you are selling coffee mugs, photograph them in action, such as a family drinking coffee together, keeping the mug in focus.

Model
Is DIY model product photography costly? No, if you are the model. Viewers love it when you show the products in live action. They can connect with your products and better understand how they align with their lives—for example, wearing the rings on your finger to show how it looks.

360-Degree Video
If you are new in business and do not have the budget to purchase a display, it is not a mandatory technique. however, investing in 360° product photography can help you grow your business in the long run. You can show your product from all angles easily within seconds.
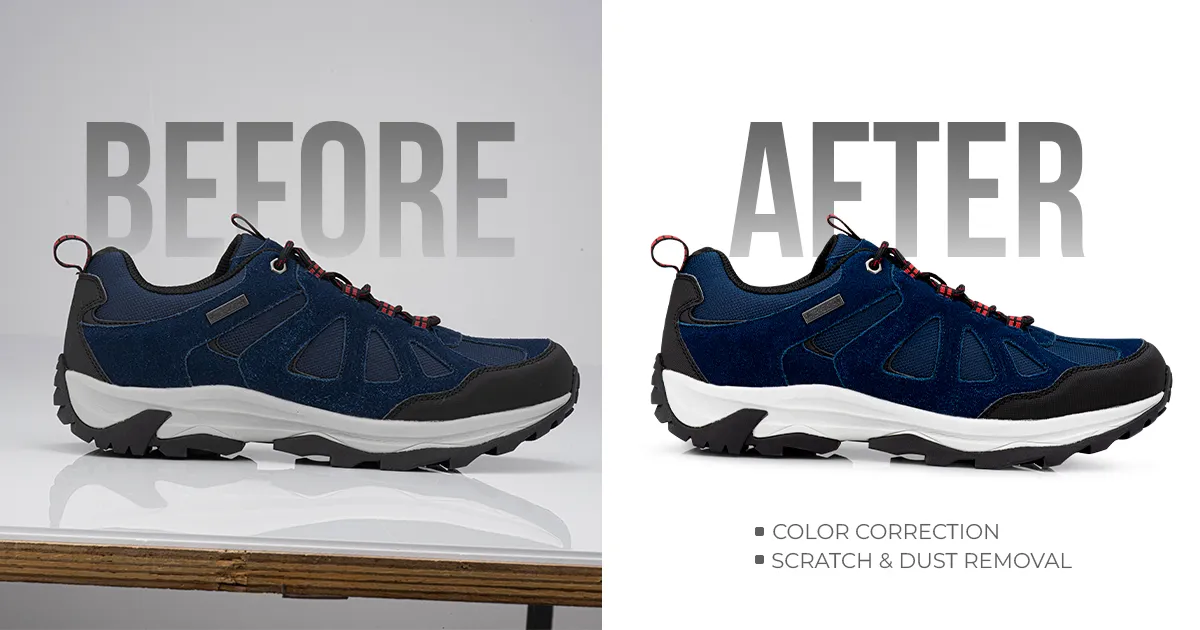
Photo Retouching for the Perfect Look
What are the creative product photography ideas you are thinking of using for your brand? Well, any idea you use for your product photoshoot, you must retouch it thoroughly to ensure the image looks flawless and elegant and conveys your brand purpose.
Zoom in to scan the issues first, then edit the flaws one by one. Do color correction and lighting correction, remove spots, dust, and scratches, smoothen the product, bring out the details, and more. Each photo has a different issue. Find it and edit the image thoroughly, ensuring it looks visually appealing. After you are done with the photo editing, ask yourself this - “Would I have purchased if I had seen this image?” If your answer is yes, save the image.
SEO-Optimize to Get Found Faster
It is super easy to optimize your images for your search engines.
Image Format: Save your images in JPG, PNG, JPEG, or WebP format, as Google accepts these formats.
File Size: Small images rank and load faster. Reduce your image size, ensuring the image quality and all details are met.
Alt-text: Add alt-texts to show Google what your image is about. When search engines understand the image details and value, it will rank and get found by your target audience.
Keyword Implementation: Save your images with a relevant keyword to show the search engine the image relevancy.
Final Thoughts
Product photography may seem challenging at first, but with time and practice, your photoshoots will get faster. For example, you can plan the photography strategy faster and drive better results. Thus, follow our product photography tutorial to get started and take stunning images that make the consumer say, “I want this product now!”.
If you need professional help taking eye-catching images, Product Photography Dhaka (PPD) agency is here for you. We offer comprehensive product photography services and photo retouching services. Just tell us your requirements. Whether you need flat-lay, lifestyle, model, or white background product images, we can deliver it perfectly. Visit our website now and check out our impressive portfolio, which proves our capability. That’s it for today. See you later!
FAQ
Popular post:
- Softbox or Umbrella for Product Photography? Choose the Best One!
- Flatlay vs. Lifestyle Photography: Which is Best for Branding?
- 20+ Amazing Picnic Photoshoot Ideas to Try in 2025
- The Power of Ghost Mannequin Imagery: How it Affects Your Sales Increase?
- Top 20 Mistakes Apparel Brands Make in Product Photography
- 7 Ways to Optimize Your Product Photography Setup for Speed and Quality
- Why Product Photography Needs to Tell a Story
- How Professional Product Photography Can Increase Your Sales
- Professional Product Photography Tutorial: DIY at Home
- Maximize Your Productivity with Professional Photography Tips